Register your Application to be able to use OAuth to Access Google APIs
You can find a description of the basic steps here you have to follow, when accessing a Google API using OAuth 2.0.
First of all, you have to register your application.
The result of this registration process is a set of values that are known to both Google and your application.
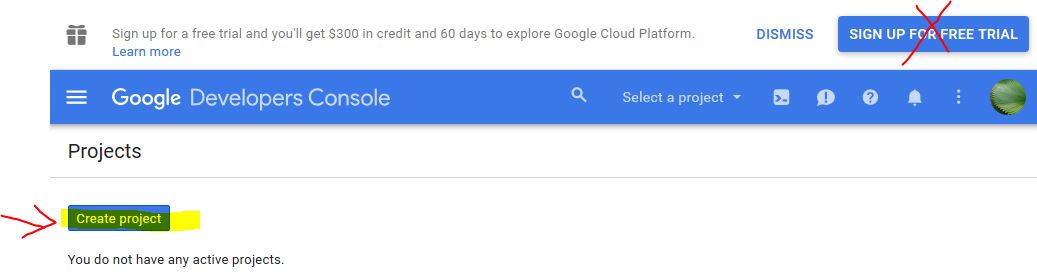
Login to Google and go to the API Console. Then follow these steps:
- Create a new project. Do not sign up for the free trial!
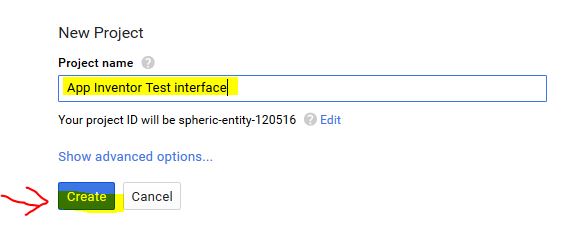
- Enter a Project Name of your choice and click "Create"
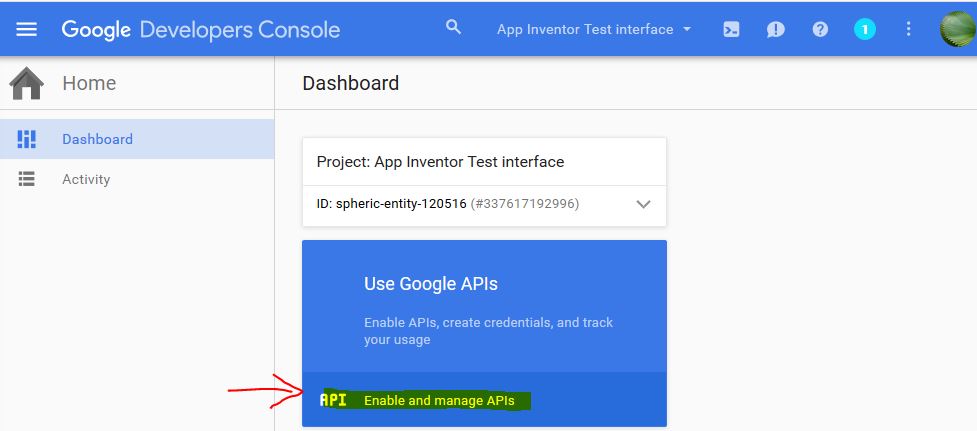
- Go to Enable and manage APIs
- In the Enabled APIs tab disable all APIs
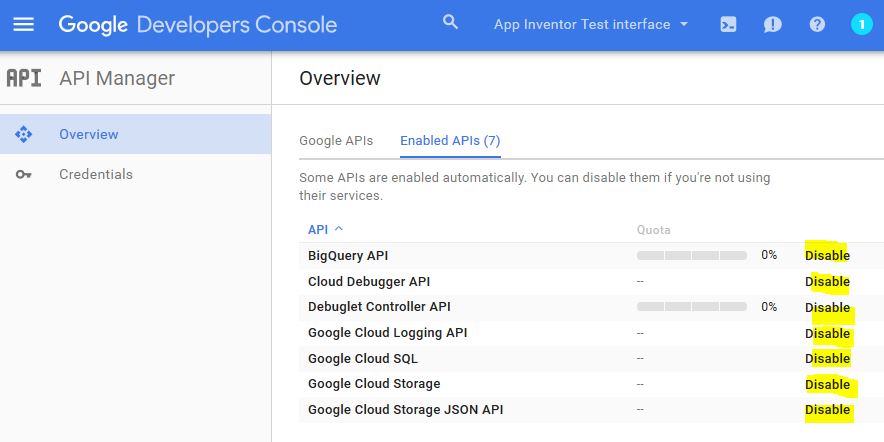
- Then switch to the Google APIs tab and enable the API for the project, e.g. Fusion Tables API
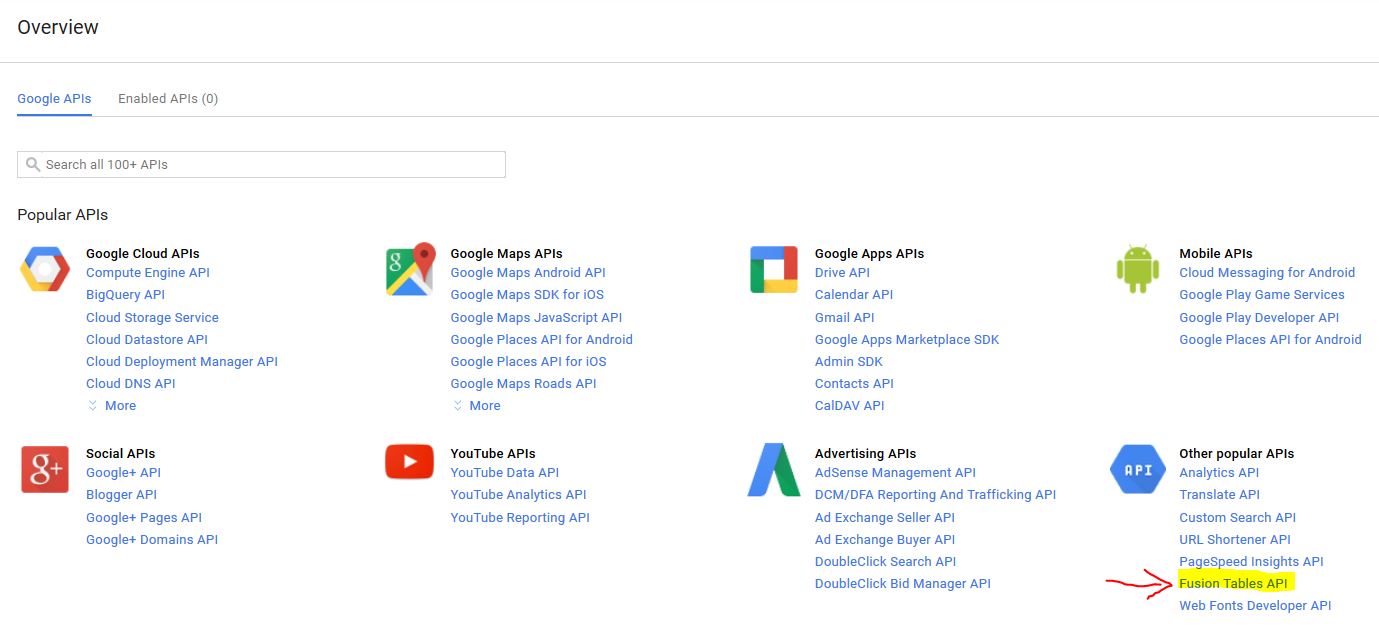
- Now click "Enable API"
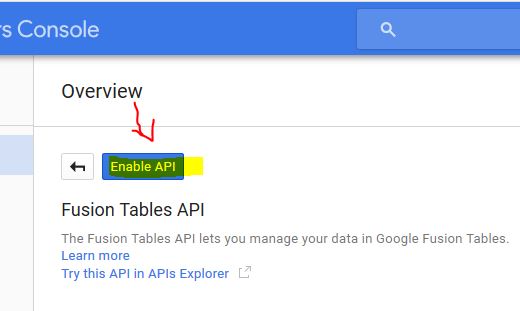
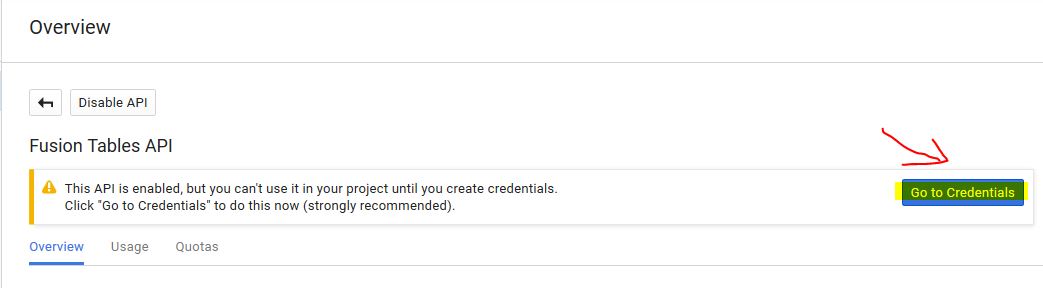
- And in the following window, click "Go to Credentials"
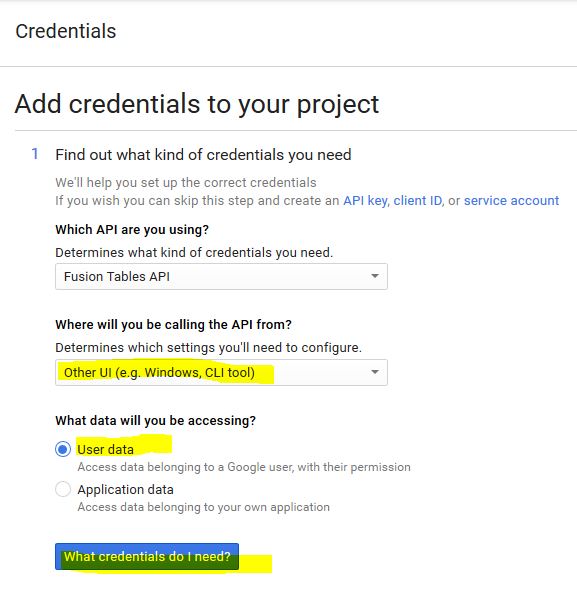
In the Credentials window, step 1, choose "Other UI (e.g. Windows, CLI tool)" and select "User data".
Then click "What credentials do I need?"
Note: Later when you publish your app, you can choose "Android" instead.
Then you also have to provide your package name and an SHA1 signing certificate fingerprint. How to provide that, see
here.
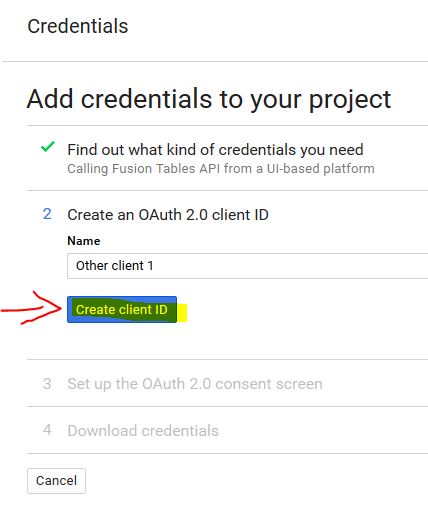
- In the Credentials window, step 2, click "Create client ID"
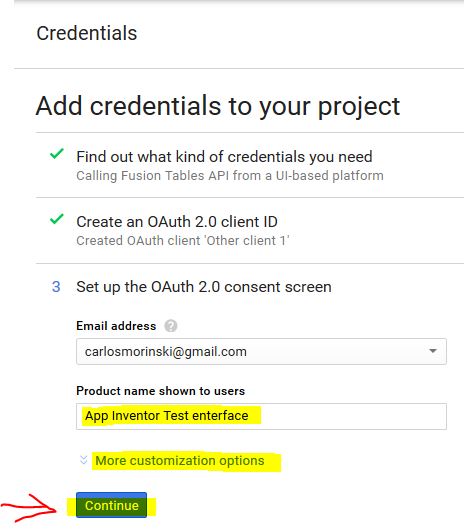
- In the Credentials window, step 3, enter the Product name. You also can add an icon under "More customizatzion options".
Then click "Continue"
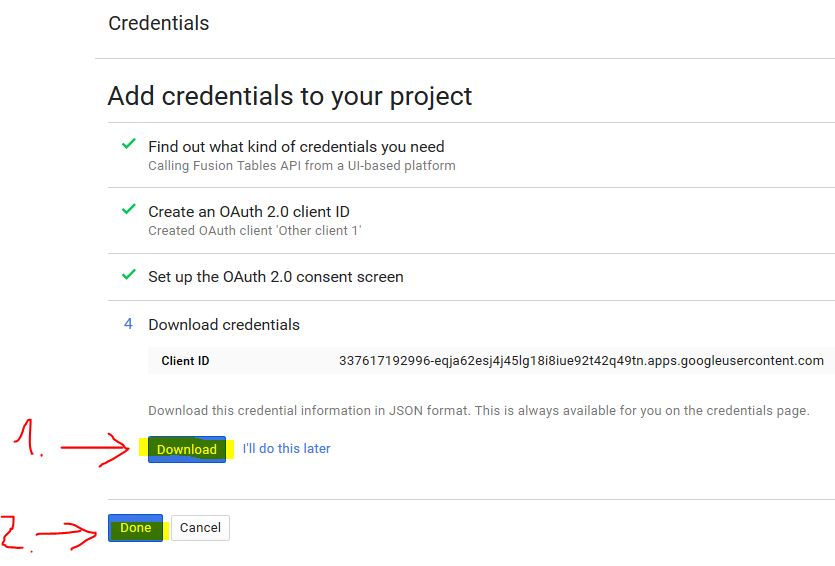
- In the Credentials window, step 4, first click "Download" to download your client id and client secret.
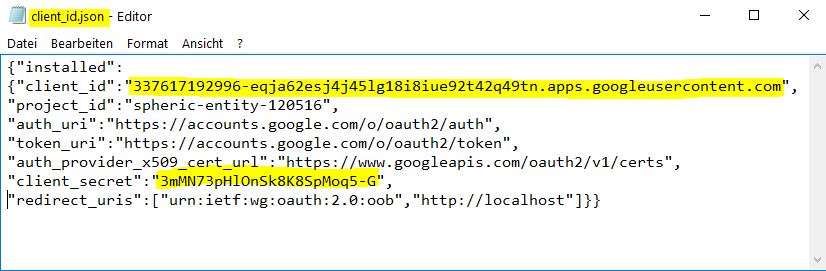
- In the downloaded file you now can find the relevant information Client ID and Client secret.
Just put it into the corresponding variables in the App Inventor source.
No worries, the IDs of the screenshot of this test project I already deleted while you are reading this. ;-)
Back to top of page ...
